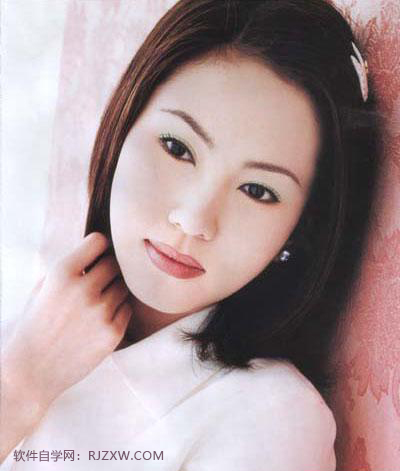
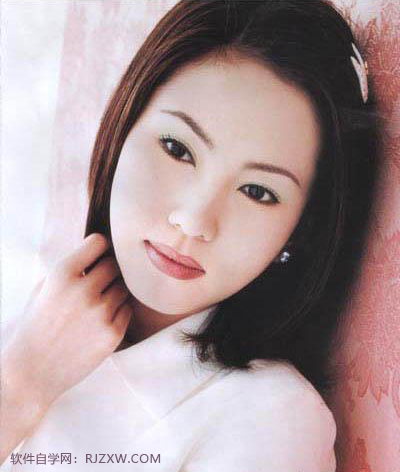
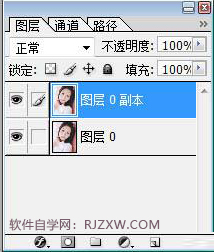
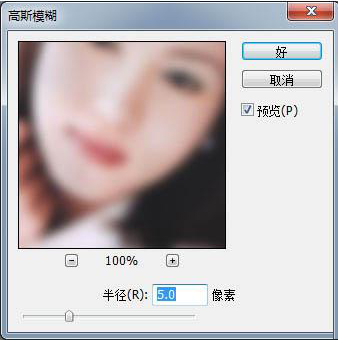
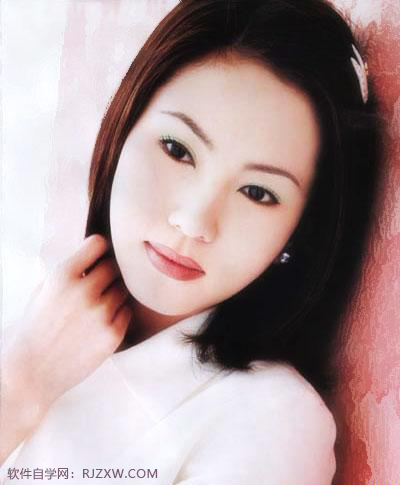
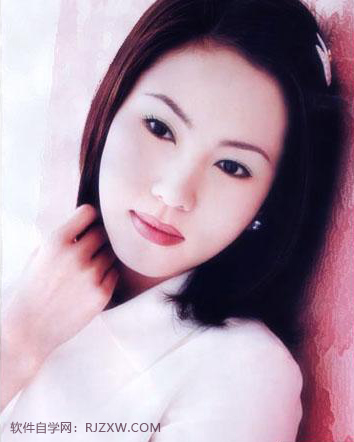
原图 最终效果 1、打开原图素材。 2、双击背景图层解锁,再按Ctrl + J 复制一层。 3、点击复制的图层,对其执行:滤镜 > 模糊 > 高斯模糊,参数设置如下图。 4、更改图层的混合模式为“柔光”,并根据图片的需要调节不透明度。 5、效果如下图所示,照片立刻明亮起来。 6、合并两个图层,再复制一层,给复制的图层执行:滤镜 > 艺术效果 > 干笔画,参数设置如下图。 7、滤镜后的效果如下图。 8、给复制的图层添加图层蒙版,选择一个柔角像素的画笔,用橡皮擦将人物擦除。 9、图层参照及效果如下图。
10、图片基本上调节好了,可以根据自己需要合并图层,再调节整体颜色。 最终效果: